In this tutorial, we will show you how to manage Cloudflare DNS records from WordPress using WP Email Manager, a plugin that enables you to create domain based email accounts such as [email protected] directly from WordPress. The plugin integrates with WP Multisite, WP Ultimo, WooCommerce, MXroute, cPanel, DirectAdmin, ISPmanager, 20i / StackCP, Mailcow, VestaCP, HestiaCP, Plesk & much more.
Do the following to manage DNS records in WordPress using WP Email Manager:
- Get your copy of WP Email Manager and Domain Manager addon, and install in your WordPress website.
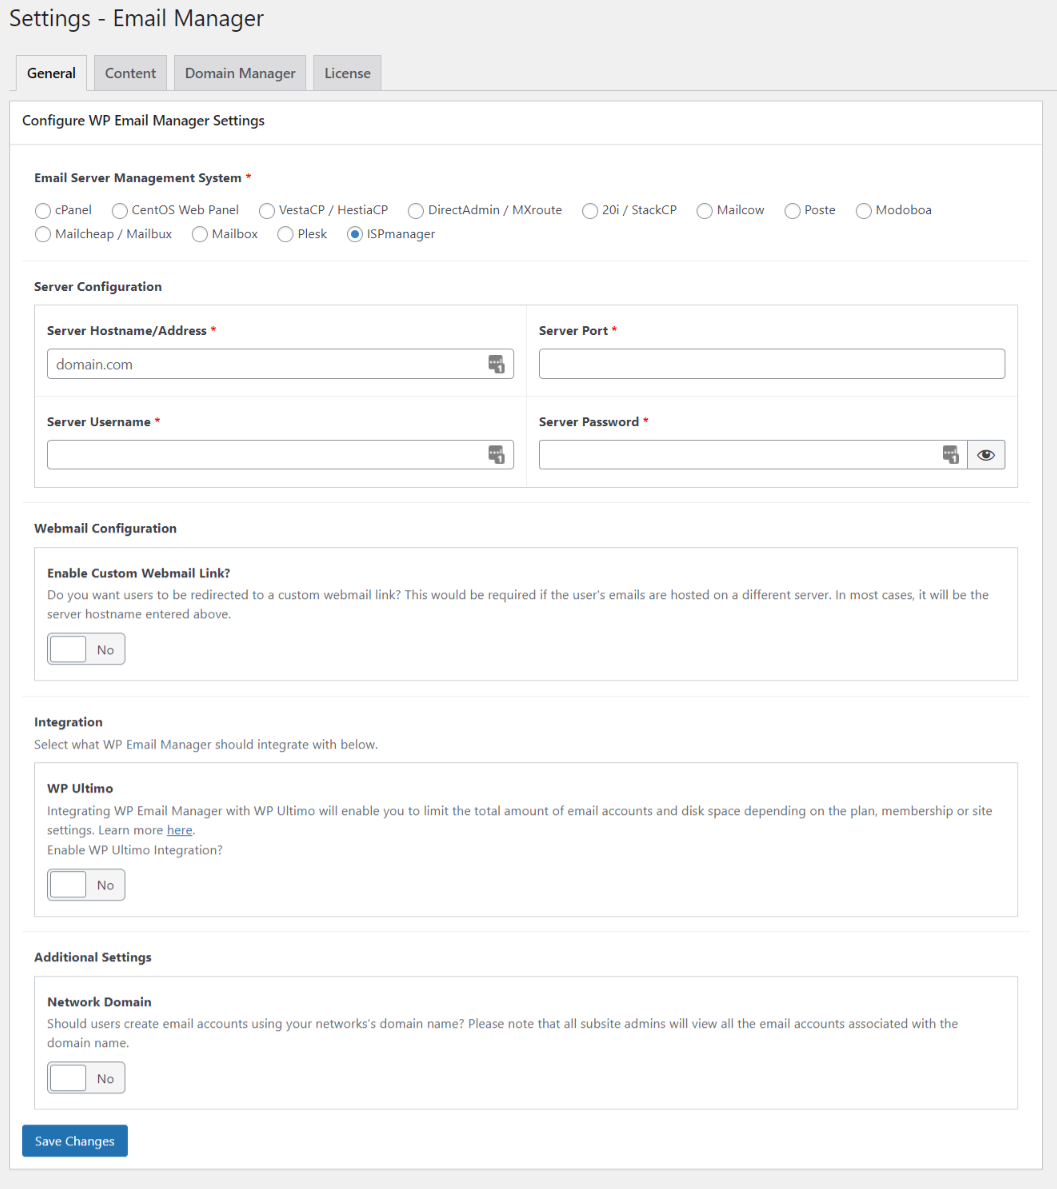
- Configure your email server settings that can be found at Email Manager > Settings in the administration area. Learn more.
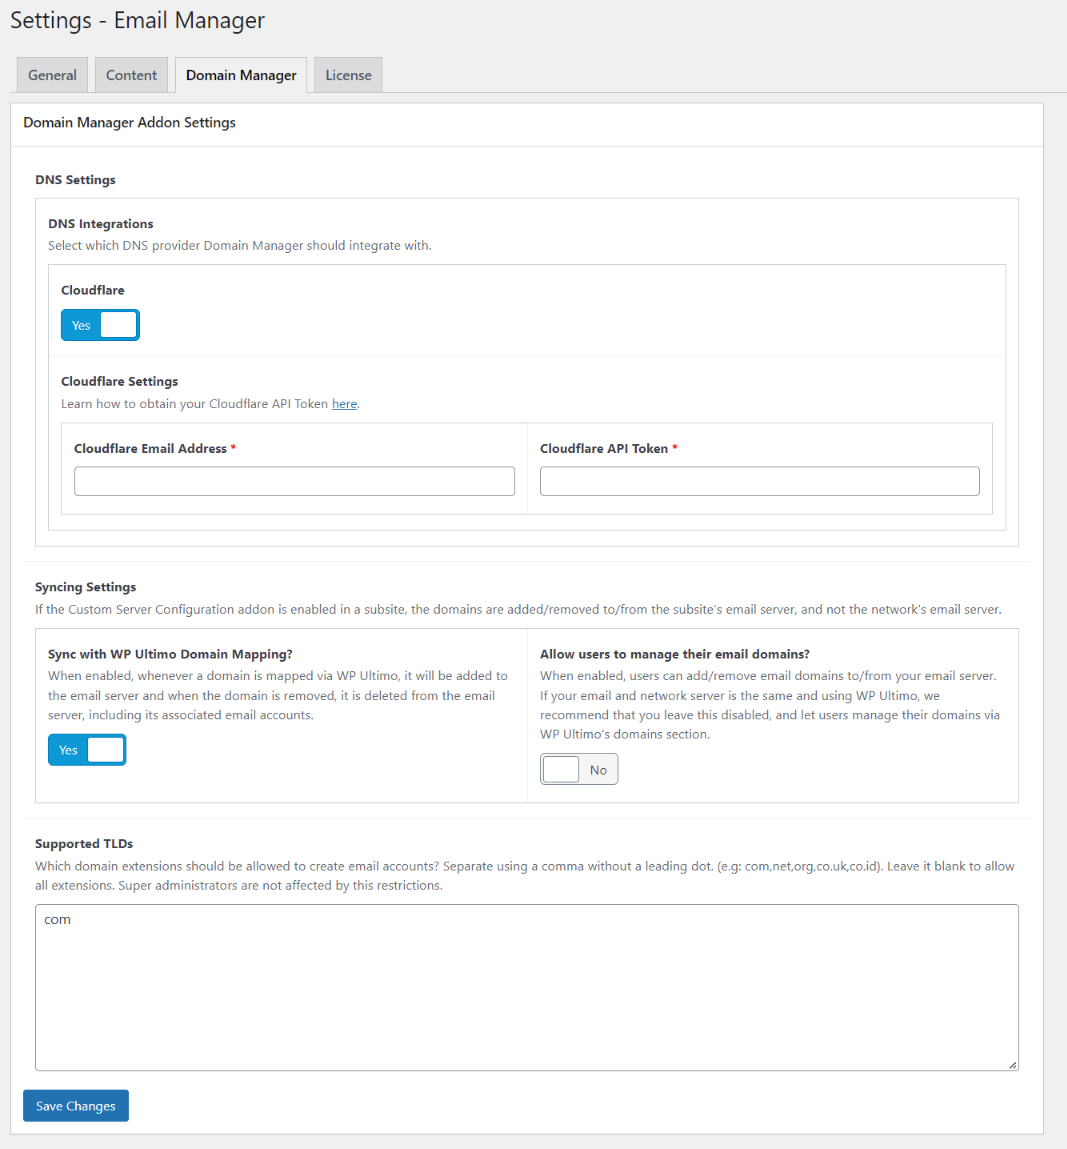
- Configure the Domain Manager Addon settings. You will have to enable the DNS integration and enter your Cloudflare details. Learn more.
- With the above setup, go to Email Manager > Domains and add a new domain to your email server. If the domain is not on Cloudflare, it will be automatically added, and the required nameservers will be displayed. Change the domain’s nameservers to those shown.
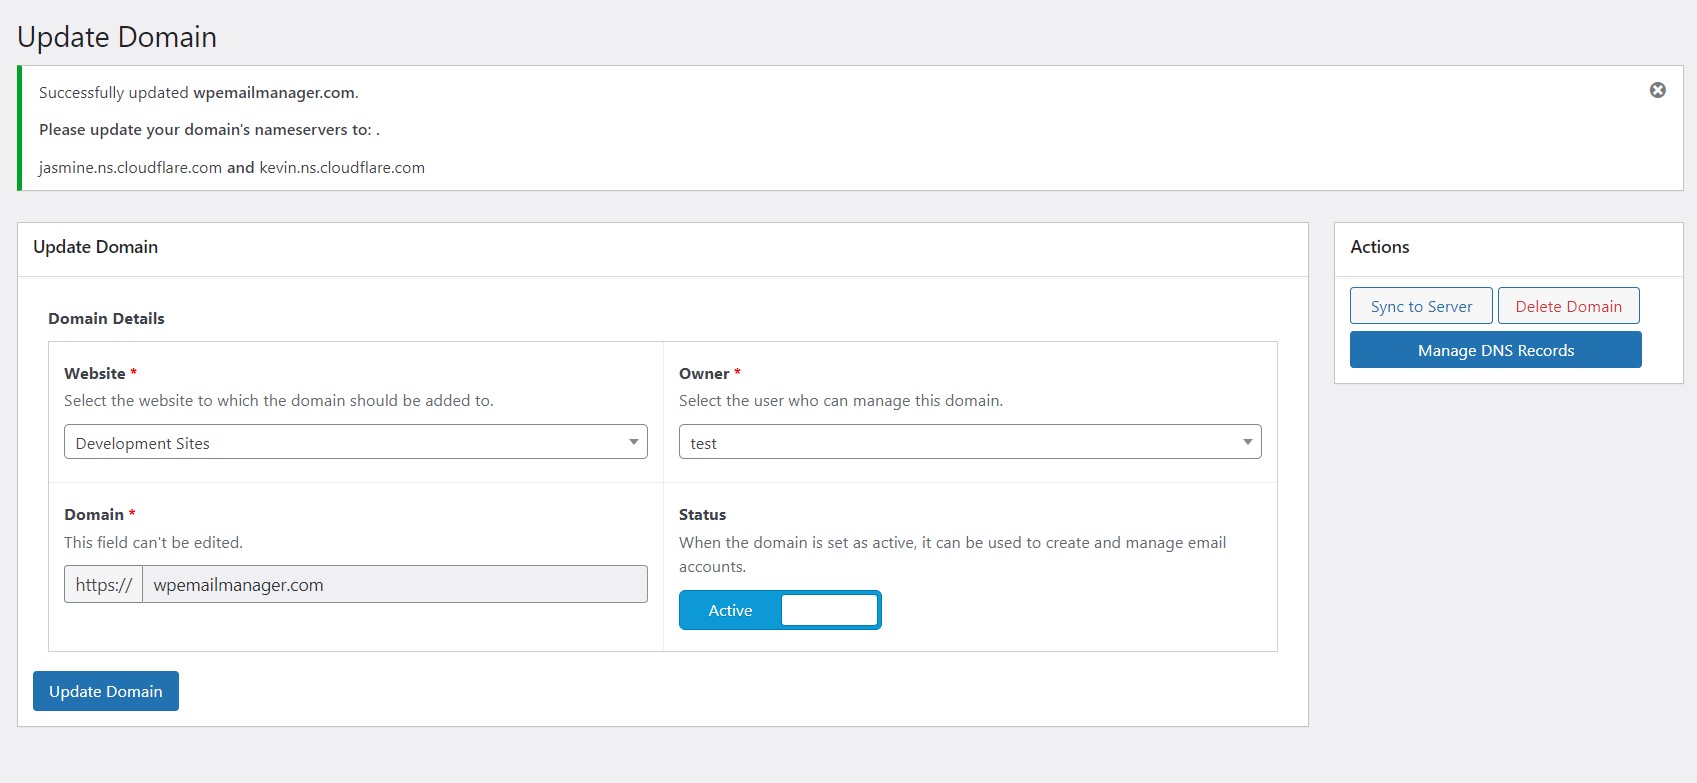
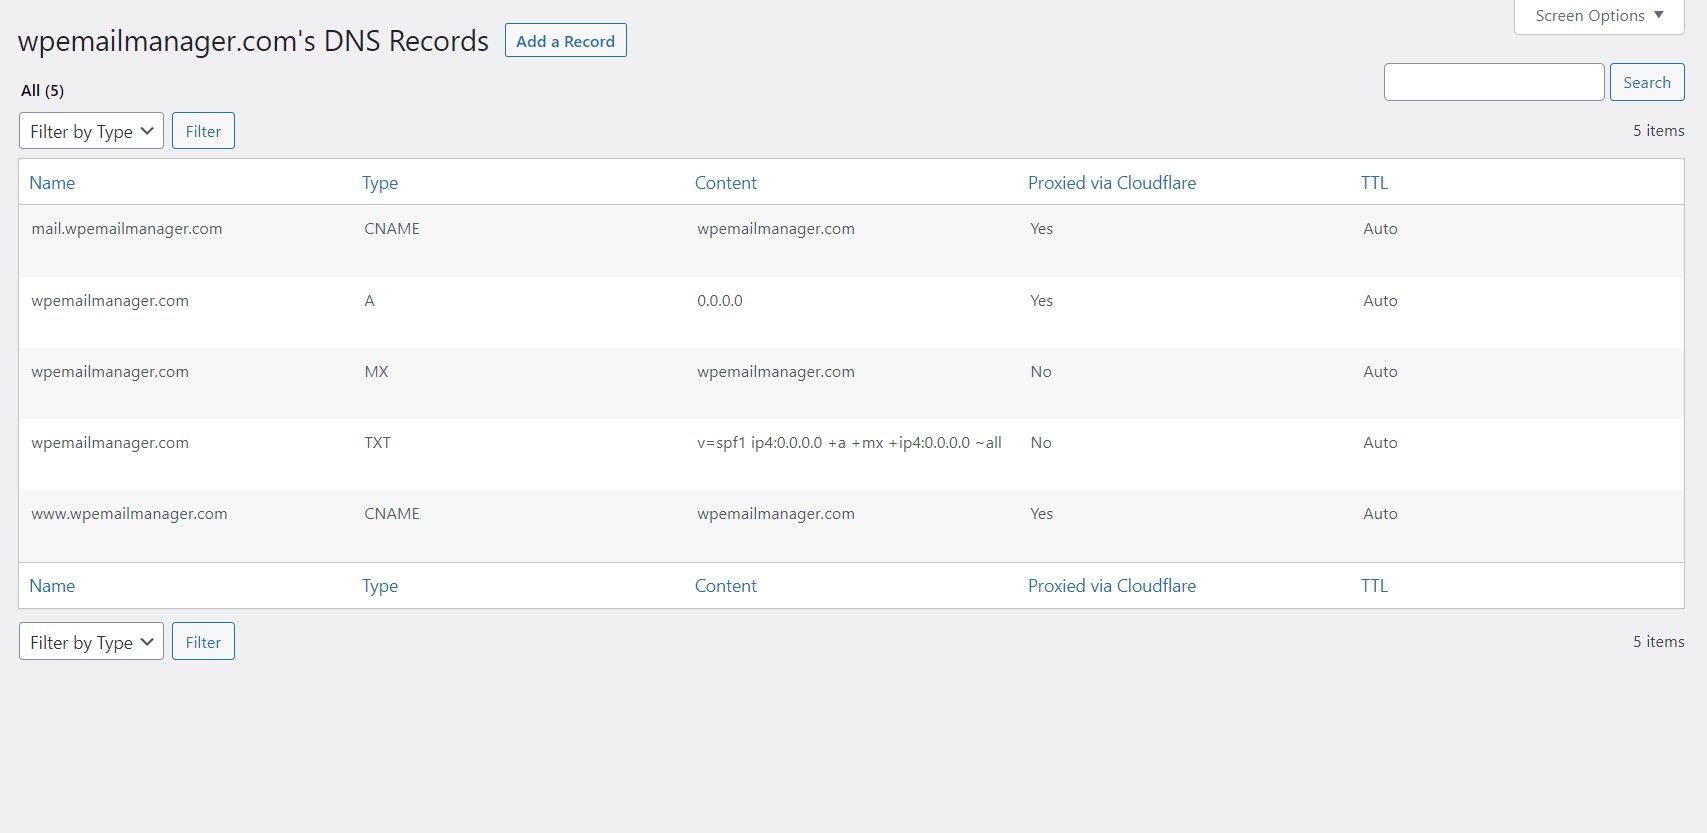
- Now click on the Manage DNS Records button to view your existing DNS records.
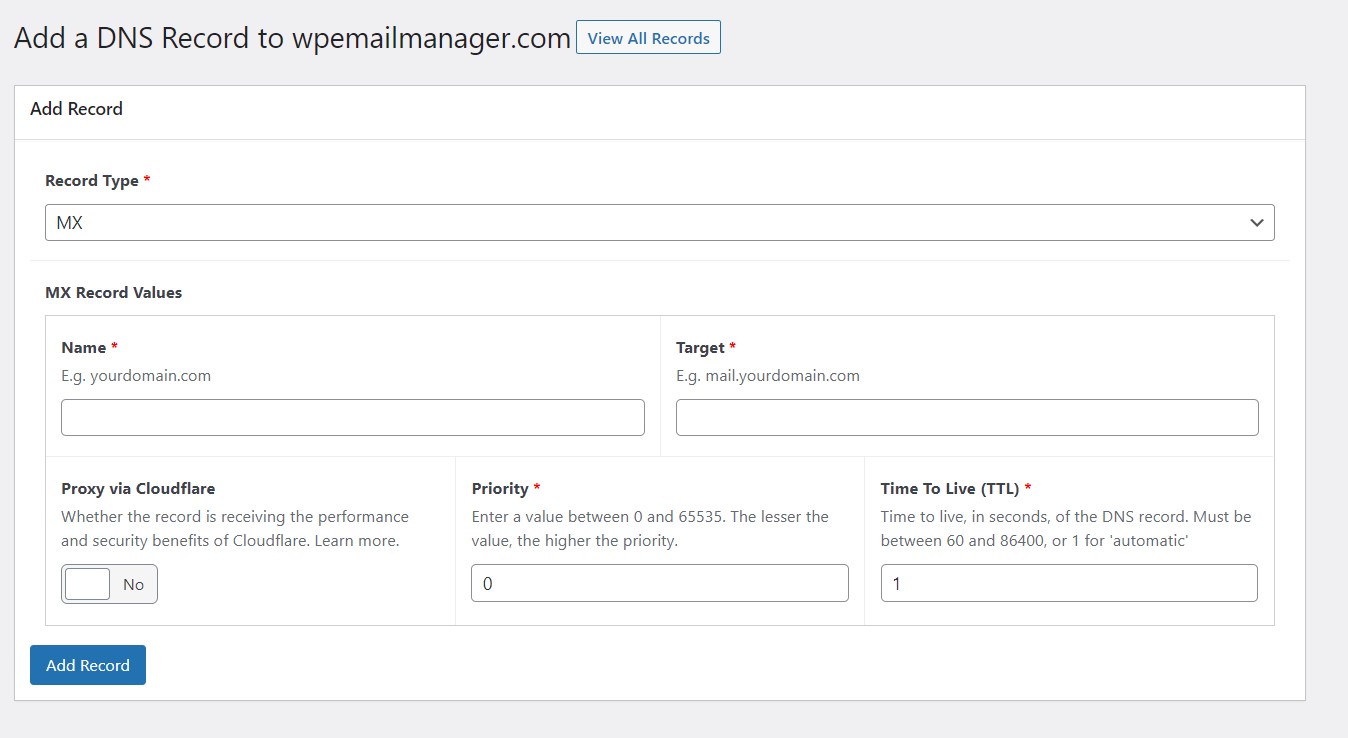
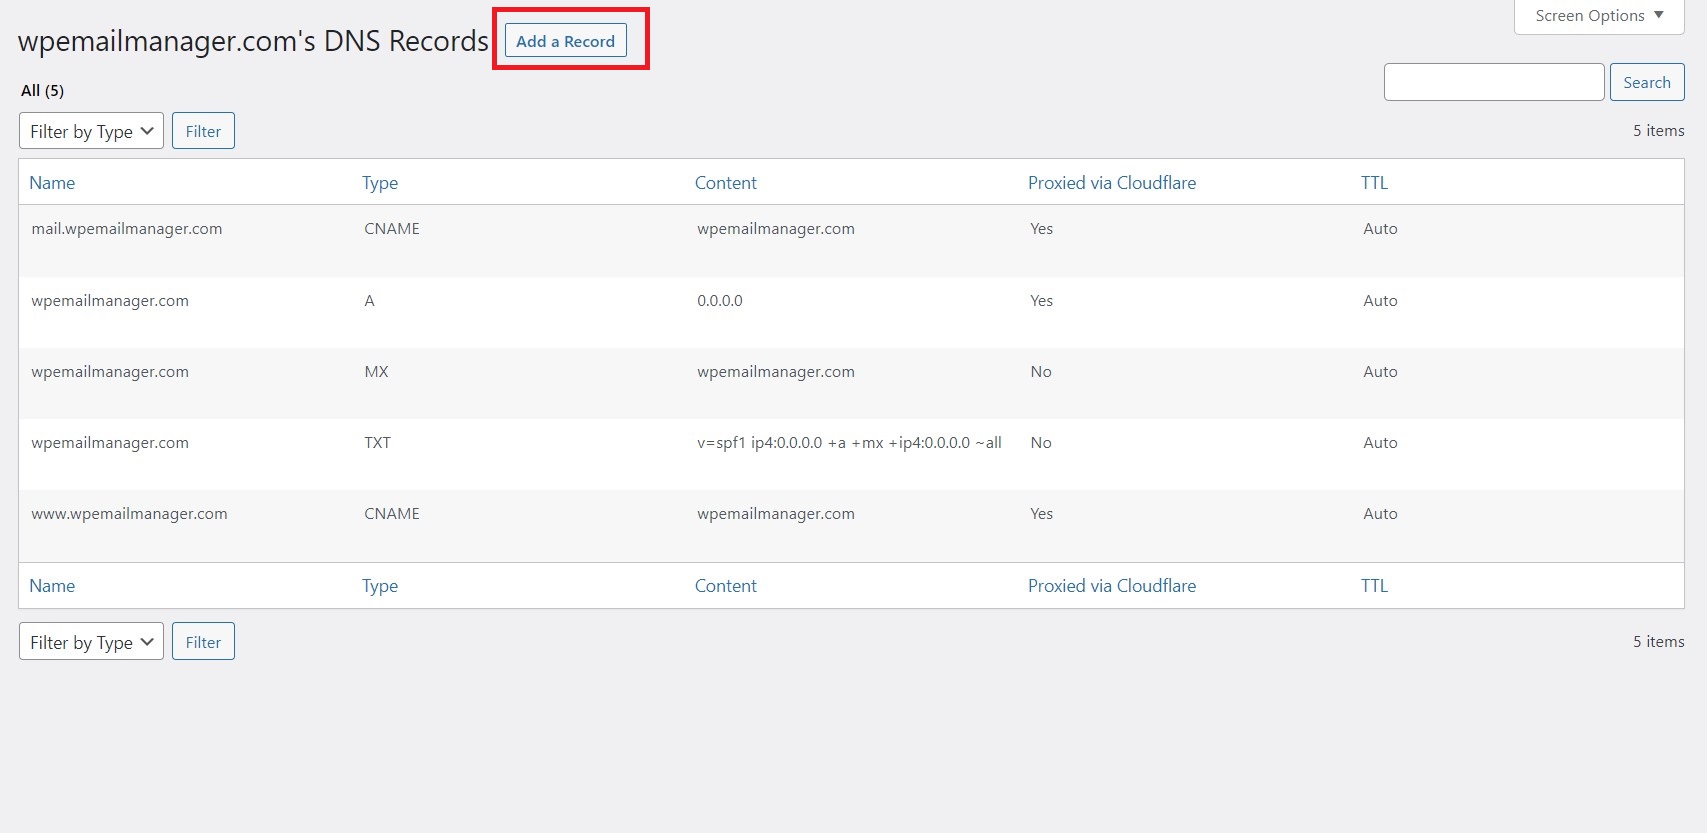
- Click on the Add a Record button to add a new record.
- On the Add a Record page, fill in all the necessary information and save.